

















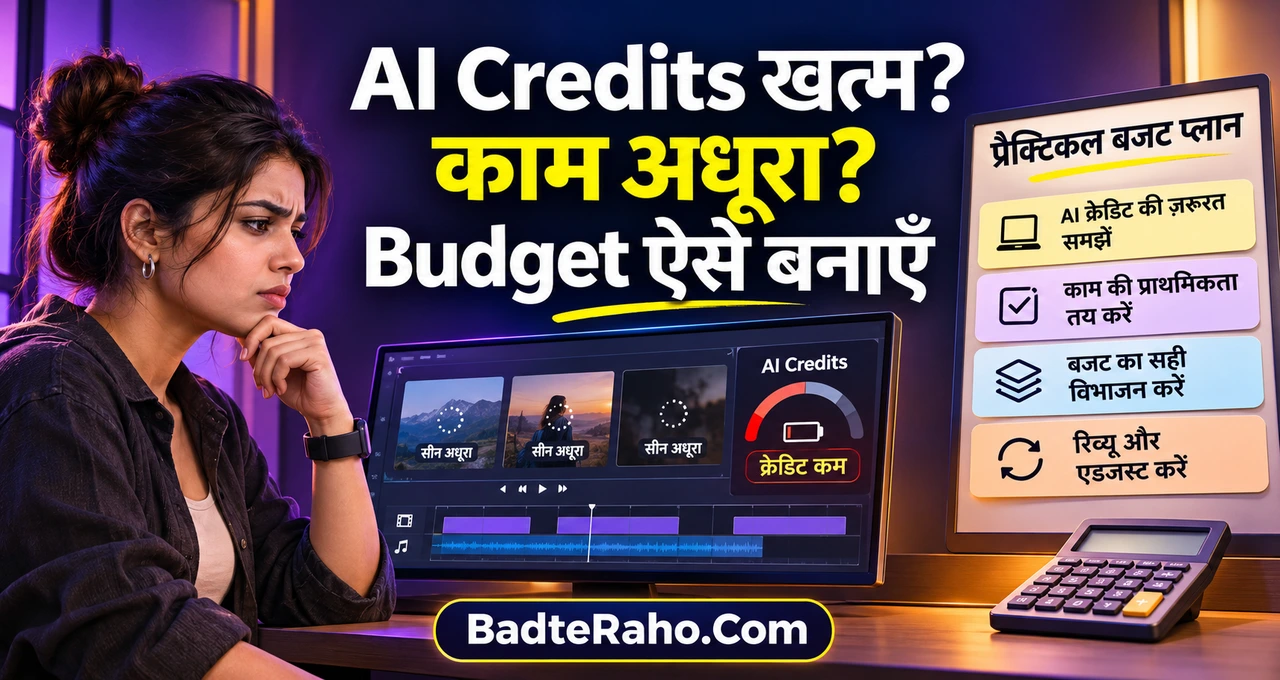

Video की आखिरी scene बनानी थी, लेकिन screen पर “Not enough credits” आ गया।
बार-बार retakes और महँगा model आपका balance जल्दी खत्म कर सकते हैं। सही budget के लिए usable outputs का खर्च गिनना होगा।
यहाँ AI Credits का Budget, plan selection और expiry समझेंगे। साथ में 100 images और 30 छोटे video clips की लागत देखेंगे।
पहले जानें कि आपकी calculation में कौन-सा खर्च छूट रहा है।
इस लेख में आप क्या सीखेंगे?
- Credits और tokens का फर्क
- Monthly plans का सही चुनाव
- Images और videos का खर्च
- Retries का असली असर
- Expiry और renewal की जाँच
- अपना practical budget बनाना
AI credits खरीदने से पहले अपना काम गिनें
मान लीजिए आपको महीने में 100 images और 30 videos चाहिए। सुनने में target साफ है, लेकिन budget अभी नहीं निकल सकता।
Images में product photos चाहिए या simple backgrounds? Videos पाँच सेकंड के clips होंगे या कई scenes वाली 30-second Reels?
दोनों का खर्च अलग होगा।
इसलिए अपनी requirement ऐसे लिखें: “100 usable images और 30 पाँच-सेकंड clips, तय resolution में।”
अगर हर Reel में छह generated scenes लगें, तो 30 Reels के लिए 180 scenes चाहिए। Retakes उसके बाद जुड़ेंगे।
AI video editing के workflow में generation के बाद selection, editing, captions और audio का काम भी समझें। Clip बनना और publish-ready video बनना अलग पड़ाव हैं।
यही clarity आपको गलत plan खरीदने से बचाती है।
AI credits, tokens और monthly plan एक चीज़ नहीं हैं
Credit को provider की अपनी usage unit समझें। उससे image, video, audio या दूसरा supported काम किया जा सकता है।
लेकिन एक credit की कोई universal कीमत नहीं है।
किसी tool में एक image के लिए कुछ credits लग सकते हैं। दूसरे में video का charge duration और resolution से तय होगा। इसलिए केवल “10,000 credits” देखकर दो services की तुलना न करें।
Tokens आम तौर पर model द्वारा process की गई information की units होते हैं। Consumer credits और API tokens का सीधा one-to-one संबंध मानना सही नहीं है।
3 नवंबर की Reuters reporting में चीन के Singles’ Day festival में AI token packages और subscriptions की बिक्री का जिक्र था। यह चीन का shopping development है; इससे भारत में वही demand या आपके लिए बचत साबित नहीं होती।
आपके लिए असली सवाल है: इस purchase से तय समय में कितना उपयोगी काम निकलेगा?
Monthly subscription लें या अलग credits खरीदें?
पहले तीन arrangements अलग पहचानें:
| विकल्प | किस situation में देखें? | क्या जाँचें? |
|---|---|---|
| Monthly subscription | हर महीने नियमित काम है | Included usage, renewal और model access |
| Prepaid credit pack | सीमित project या कभी-कभार काम है | Validity, eligible models और minimum purchase |
| Subscription + top-up | Existing plan में थोड़ा extra काम बचा है | Base plan की जरूरत और extra credits की कीमत |
हर prepaid pack subscription का विकल्प नहीं होता। कुछ services में अतिरिक्त credits खरीदने के लिए active paid membership चाहिए।
Google One की official guidance भी eligible paid users के लिए extra AI credits खरीदने की सुविधा बताती है। इसलिए “सिर्फ छोटा pack लेकर पूरा paid tool चला लूँगा” पहले verify करें।
Monthly plan तब उपयोगी है जब आप उसका पर्याप्त इस्तेमाल करते हैं। महीने में केवल दो बार काम हो, तो बड़ा quota खरीदना सस्ता दिखकर भी महँगा पड़ सकता है।
अपने monthly personal budget में AI tools की अलग spending limit रखें। अलग-अलग apps के छोटे bills मिलकर बड़ी recurring रकम बना सकते हैं।
AI Credits का Budget बनाने का सही formula
पहले तीन quantities निकालें:
- कितने final outputs चाहिए?
- एक usable output तक पहुँचने में औसतन कितनी generations लगती हैं?
- चुने हुए model और settings पर हर generation का कितना charge है?
Estimated credits = final outputs × औसत generations × प्रति-generation credits
Video का rate प्रति second हो, तो duration भी multiply करें। अलग-अलग images और videos की जरूरत बाद में जोड़ें।
मान लें आपको दस usable images मिलीं, लेकिन बीस billable images generate करनी पड़ीं। आपके sample में हर final image के लिए औसतन दो generations लगीं।
अब 100 final images का budget केवल 100 generations पर न बनाएँ।
यह अपना छोटा test करने की वजह है। किसी दूसरे creator का success rate आपके subjects, prompts और quality standard पर लागू नहीं होगा।
AI graphic design service बेचते समय client revisions भी लिखें। Unlimited revisions का वादा करके generation cost को fixed मानना मुश्किल होगा।

100 AI images और 30 video clips का खर्च कितना होगा?
नीचे का example 4 नवंबर 2026 को जाँची गई Adobe Firefly की official pricing और credit rules पर आधारित है।
यह इस्तेमाल करके मिले परिणाम का दावा नहीं, published rates से की गई calculation है। खरीदते समय current price और selected model दोबारा देखें।
पहले settings तय करें
इस example में:
- Images: Firefly Image 5 की 100 generations।
- Videos: Firefly Video के 30 clips।
- Duration: हर clip पाँच सेकंड।
- Resolution: 540p, 24 FPS।
- Assumption: हर generation पहली बार में usable है।
इस configuration में image rate 10 credits प्रति generation और video rate 20 credits प्रति second है।
| काम | हिसाब | Credits |
|---|---|---|
| 100 images | 100 × 10 | 1,000 |
| 30 video clips | 30 × 5 × 20 | 3,000 |
| कुल | Images + clips | 4,000 |
Firefly Pro के India monthly page पर ₹1,596.54, GST सहित, और 4,000 monthly credits दिखे। इसलिए यह baseline उसी allowance में बैठती है।
लेकिन balance पूरा इस्तेमाल हो जाता है। Retakes, premium edits और दूसरे billable काम के लिए जगह नहीं बचती।
यह ₹1,596.54 में 30 finished Reels का वादा नहीं है। पाँच-सेकंड clips की resolution और quality आपके काम के लिए पर्याप्त होनी चाहिए।
Resolution बदलते ही budget क्यों बदल जाता है?
इन्हीं 30 पाँच-सेकंड clips के लिए published video rates से:
| Resolution | केवल video credits |
|---|---|
| 540p | 3,000 |
| 720p | 7,500 |
| 1080p | 15,000 |
Images के credits इसके ऊपर जोड़ेंगे। ये calculations क्रमशः 20, 50 और 100 credits प्रति second के rates पर हैं।
यानी plan page पर “इतने videos” लिखा देखकर उसे हर resolution की capacity न मानें। पहले model, duration और output settings मिलाएँ।
Adobe का plan comparison और credit-consumption rules सीधे खोलकर दोनों चीजें साथ जाँचें।
Retries के बाद सस्ता plan महँगा कैसे पड़ता है?
ऊपर की calculation में हर output पहली बार स्वीकार किया गया था। वास्तविक काम में ऐसा होना जरूरी नहीं है।
मान लें आपके project में औसतन 1.5 billable generations प्रति final output लगती हैं। उसी baseline की credit requirement 4,000 से बढ़कर 6,000 हो जाएगी।
यह 1.5 आपकी planning assumption है, industry average नहीं।
अब तीन विकल्प compare करें: eligible top-up, अगला plan या कम खर्च वाला suitable model। केवल quota देखकर upgrade न करें।
आपके काम की quality बदले बिना खर्च कम हो सकता है, तो वह विकल्प भी देखें।
एक और metric रखें: प्रति usable output लागत।
किसी project पर ₹1,500 खर्च हुए और 100 usable images मिलीं, तो generation-related खर्च ₹15 प्रति image हुआ। केवल 50 usable images मिलें, तो यही खर्च ₹30 हो जाता है।
इस hypothetical calculation में अपना editing time और दूसरे tools का खर्च जोड़ें। Client work के लिए केवल credits की कीमत आपकी पूरी service cost नहीं है।
Generation fail होना और output पसंद न आना अलग है
Error आने से video बना ही नहीं, तो वह technical failure हो सकता है। Video बन गया लेकिन face, motion या composition गलत लगा, तो वह creative rejection है।
दोनों पर एक ही refund rule लागू मानना सही नहीं है।
Google Flow की official help के मुताबिक, failed generation या safety-filter failure पर deducted credits एक घंटे के भीतर लौटाए जाते हैं।
ऐसे में बार-बार नया request भेजने से पहले usage history देखें। Generation का समय, error और credit movement note करें।
Output तैयार हो गया लेकिन आपको पसंद नहीं आया, तो technical-failure वाला refund अपने-आप मानकर न चलें। उस service की current policy देखें।
Product creatives बनाते समय असली color या product details बदल गई हों, तो output reject करना पड़ सकता है। इसलिए usable results का हिसाब जरूरी है।
बचे हुए credits अगले महीने मिलेंगे?
हर balance को rollover वाला न समझें।
Adobe के generative credits monthly reset होते हैं; unused balance अगले महीने carry forward नहीं होता। Google Flow के monthly credits भी rollover नहीं होते।
अलग खरीदे Google AI credits की expiry purchase के समय दी गई terms से तय हो सकती है। Monthly allowance और purchased balance को एक जैसा न मानें।
खरीदने से पहले चार बातें लिखें:
- Credits की expiry date।
- Next billing या refresh date।
- Cancellation के बाद access।
- पहले कौन-सा balance खर्च होगा।
आखिरी दो सवालों के जवाब provider-specific हैं। Dashboard या support से confirm करें; अनुमान से budget न बनाएँ।
₹2,000 में बड़ा pack खरीदकर केवल आधा उपयोग किया, तो effective cost छोटे pack से ज्यादा हो सकती है।
Discount का फायदा तभी है जब उसकी validity में आपका वास्तविक काम मौजूद हो।
Model बदलने से credits का हिसाब कितना बदल सकता है?
Google Flow का example यह फर्क साफ दिखाता है।
Current help table में non-Ultra users के लिए Veo 3.1 Fast पर 20 credits प्रति generation हैं। Quality model पर 100 credits लगते हैं।
इन rates पर 30 generations के लिए क्रमशः 600 और 3,000 credits बनते हैं। यह credit comparison है, रुपये की बराबरी नहीं।
Fast और Quality के परिणाम तथा supported features एक जैसे मानकर फैसला न लें। जिस scene को expensive model की जरूरत है, उसी पर वह खर्च करें।
Flow की current cost table में अपना model देखें। Charge प्रति generation हो सकता है; एक request से कई outputs निकलें तो count भी जाँचें।
एक provider के 1,000 credits को दूसरे के 1,000 credits के बराबर बताना इसी वजह से गलत होगा।
AI tools पर खर्च कम करने के सात practical तरीके
1. पहले छोटा sample पूरा करें
अपने असली काम जैसी दस images और तीन clips बनाएँ। Attractive demo देखकर सीधे annual payment न करें।
Record करें कि कितने outputs इस्तेमाल हुए और कितना balance घटा। इसी sample से अगले महीने की estimate बनाएँ।
2. Prompt और reference पहले तैयार रखें
Subject, camera movement, duration और aspect ratio पहले लिखें। हर attempt में सब कुछ बदलने से पिछली गलती समझना मुश्किल होगा।
एक बार में एक मुख्य correction करें। Reference image चाहिए तो उसे generation शुरू करने से पहले साफ रखें।
3. Planning और final generation अलग करें
Script, shot list और scene selection सस्ते या उपलब्ध tools से तैयार करें। महँगा video model केवल final shortlisted scenes पर चलाएँ।
Static visual में motion की जरूरत न हो, तो उसे editor में इस्तेमाल करने का विकल्प भी देखें।
4. हर variation को दोबारा generate न करें
एक approved visual को resize, crop या छोटे text edit से इस्तेमाल किया जा सकता हो, तो पहले वही जाँचें।
लेकिन गलत product, बदला हुआ face या खराब anatomy को केवल crop करके सही मान लेना ठीक नहीं होगा।
5. सबसे बड़ा plan तुरंत न लें
पहले एक primary tool में अपना workflow स्थिर करें। दूसरा paid tool तभी जोड़ें जब वह अलग जरूरत पूरी करता हो।
अगर आपके existing plan में वही काम पर्याप्त quality से हो रहा है, तो नया subscription खर्च बढ़ाएगा।
6. Renewal और top-up पर अपना control रखें
Billing date के पहले review reminder लगाएँ। Auto top-up उपलब्ध हो तो उसकी spending settings समझें।
“Credits अभी खत्म हुए हैं” के दबाव में बड़ा pack लेने से पहले देखें कि कितना pending काम बचा है।
7. महीने के अंत में published काम गिनें
Generated files के साथ usable और published outputs भी दर्ज करें। केवल experimentation बढ़ा है या actual deliverables भी पूरे हुए हैं?
अगर blogging workflow में AI इस्तेमाल करते हैं, तो हर article पर कितना समय और खर्च बचा, यह देखें। Tool का फायदा आपके पूरे हुए काम में दिखना चाहिए।
आज अपना budget कैसे तैयार करें?
एक simple sheet में ये columns रखें:
| क्या दर्ज करें? | क्यों जरूरी है? |
|---|---|
| Tool और plan | कुल subscriptions का हिसाब |
| Billing और expiry date | Renewal तथा unused credits पर नजर |
| Final-output target | काम की वास्तविक जरूरत |
| Model और settings | समान configuration पर comparison |
| Generations और credits used | Retries सहित खपत |
| Usable outputs | काम आने वाले results |
| Total payment | वास्तविक खर्च |
पिछले सात दिनों के काम से शुरुआत करें। नया tool है तो छोटा sample भरें।
इसके बाद अपने लिए दो limits तय करें: महीने का सामान्य budget और extra project पर अधिकतम अतिरिक्त खर्च। दूसरी limit cross हो, तो काम या plan का scope दोबारा review करें।
AI Credits का Budget बनाते समय यह भी लिखें कि credits के अलावा क्या चाहिए। Editing, voice, music, storage और client revisions अलग खर्च या समय ले सकते हैं।
आज का छोटा लक्ष्य यह comparison तैयार करना हो: मेरे target पर current plan, top-up और alternative में कुल कितना payable होगा?
आख़िर में एक छोटी सी बात
AI credits खत्म होना हमेशा बड़े plan की जरूरत का संकेत नहीं है। कभी सही settings, बेहतर references और कम retakes से वही काम हो सकता है।
अपना budget सबसे सस्ते advertised pack से शुरू न करें। पहले तय करें कि कितने usable outputs चाहिए और उन्हें बनाने में आपका वास्तविक खर्च कितना है।
एक महीने का छोटा test आगे के बड़े खर्च को बेहतर दिशा दे सकता है। खासकर तब, जब tools और models तेजी से बदल रहे हों।
आपके credits ज्यादातर images, videos या बार-बार revisions में खर्च होते हैं? अपना अनुभव बताएँ या यह budget वाला तरीका उपयोगी लगा हो तो comments में अपनी राय दें।